Using Live Templates to improve Android Development Productivity
/One of my favorite tools in Android Studio (AS) is “Live Templates”. It is a way to create simple code templates that can be accessed via auto-complete shortcuts.
Using them is a productivity booster, since they will automate a lot of boilerplate code for you.
Using the built-in templates
There are a ton of templates already built into AS.
An example is typing logm inside a function. Boilerplate code is inserted that has the method name, and input parameter/values already entered.
Example of using the `logm` Live Template

Example of using the `logm` Live Template
Learning about the built-in templates
These shorts are only good if you know about them. It is super easy to see info about them all.
Go to Settings and search for “Live Templates”. From here, you will see various categories, and can drill down to see exact info about each template.

All the Live Templates currently available
Knowing which templates exist and how to use them is an important way to level up your tool usage, and improve your productivity.
Create custom templates
It is really easy to create your own template.
Use Case
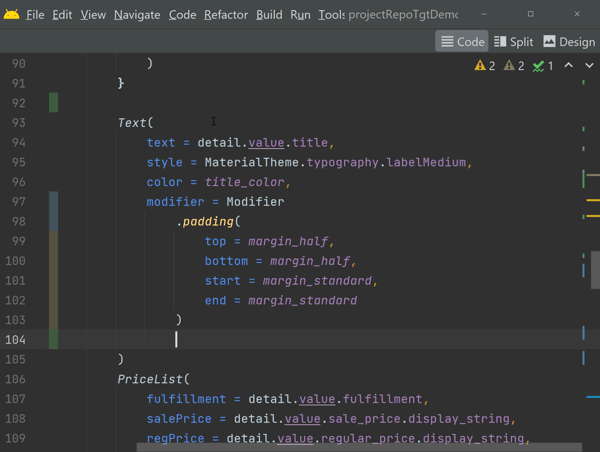
A recent use-case I solved recently, was related to testing a project with Jetpack Compose. I needed to add the testTag attribute to many Modifiers.
The code would look like this:
Modifier.padding()
.testTag(“${TEST_TAG}${item.id}”)
It will be tedious to enter that same boilerplate on every element in my UI. There could be hundreds of locations where I will need to add that attribute. I could copy/paste but that would be tedious and error prone. Typing that same syntax over and over is tedious and also error prone.
Manually typing the testTag() attribute
Creating a Custom Template
From within the same Live Templates screen we used before, you can press the + button to add a new Template.
I created a template named “mtst”, which has a single “$VAR$” argument for the value that will change with each use.

Creating a new `mtst` Live Template to add the testTag() attribute
Using The Custom Template
Now I can simply type mtst then paste the custom value for each test tag.
This is so much easier and less error prone than typing this same thing over and over!

Much quicker, particularly since I would be typing this over and over
Advanced Template Customization
There are a lot of advanced things you can do in these templates. There are many predefined functions that you can use to gather information.
A great way to discover the functions you can use is to look at the existing templates. Click the button marked Edit Variables to see how an existing template gathered info for display.
For example, the content for the logm template has this:
groovyScript(“def params = _2.collect {it + ‘ = [\” + ‘ + it + ‘ + \”]’}.join(‘, ‘); return ‘\”’ + _1 + ‘() called’ + (params.empty ? ‘’ : ‘ with: ‘ + params) + ‘\”’”, methodName(), methodParameters())
That looks more complicated than it is. It is just a line of groovy syntax that formats text based on the results of 2 predefined methods.
Sharing Custom Live Templates
Once you start using custom templates, you will realize how useful they are and will want to share your newfound productivity super power with your team.
It is easy to share your custom templates, because they are exported with the other IDE settings when you select: File | Manage IDE Settings | Export Settings
I export all my IDE settings, and store them in a Github repository. I use that repository to sync across multiple environments.
Conclusion
I hope this brief introduction to Live Templates will get you interested in using the existing templates, and creating some of your own.